
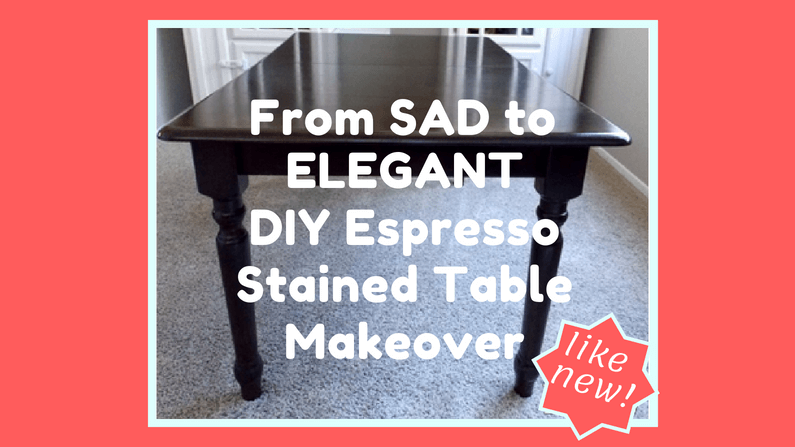

Transforming a worn-out old table is easy and well worth the time. I had considered buying a new dining room set until I priced them! With two small children, it seemed a much better choice to rescue the one we had and wait until they are older to decide if we want something more elegant. I am glad I decided to update this table and three coats of polyurethane has made it very kid friendly. Espresso is a great color for an update because of its versatility, but if you don’t like espresso, any color will do.
Here’s what you will need:
Sandpaper
A Sander (optional – but helps!)
MinWax Espresso or stain of your choice. This is the one pictured in the tutorial.
Polyurethane
3 Socks (one for each coat of stain)
A kitchen glove for under the sock
Foam brushes for applying the polyurethane
Plastic or painter’s drop cloth for under the table.
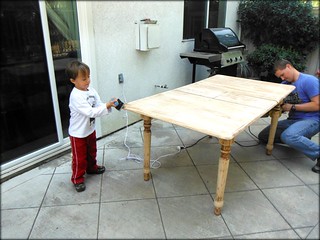
The first step, and worst step in my opinion, is the sanding. You need a well-ventilated area and some patience. Don’t go for perfect because wood looks great with some detail and imperfections. It’s more important to remove any previous paint or stain than it is to get a flat, even look. Here are my handsome helpers prepping the table:
Ready for stain:
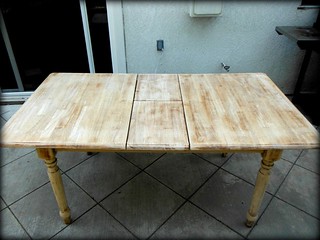
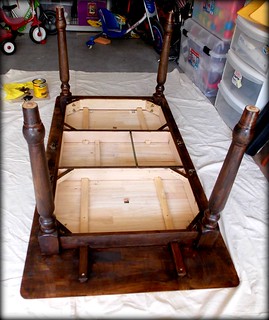
Leave some variety in the wood for a more natural and interesting look. Flip the table over to do the bottom first so that you do not have ruin the top once its been stained. I stained the table upside down because of all the detail on the legs. It was easier to get into the nooks with it this way but if you can stain yours right-side up, it will be faster because you will be able to do each coat all at once instead of bottom first for three coats and then top.
Bottoms up:
If you are using painter’s cloth, fold it in half so it is extra thick because the stain is thin and seeped through the top layer of cloth.
Use a sock to apply the stain. This was the greatest tip that I found on this blog post. You put a kitchen glove on your hand under a thick sock and you can apply the stain in no time. It goes on so even and smooth without any brush marks! Since I stained this in the garage and it did not dry as fast as outside, I let it dry 24 hours between each coat of stain. It stayed pretty wet and needed the 24 hours.
I used three coats of Minwax Water-Based poly to protect against my kiddos. I used the foam brushes to apply it but they did make a few tiny bubbles by the third coat so next time I may invest in one good brush. The bubbles are only in the nooks on the legs and not noticeable to anyone but me.
I saw on another tutorial to use “in between coats” sandpaper but when I tried it the stain started coming off so I stopped that immediately!
I used satin finish poly for the bottom of the table and semigloss on top, both applied with the table right-side up. If I were to do it over, I would use satin finish for the top too because when you have cold glasses with condensation (like water with ice) it makes a white ring. The rings go away when it dries but a satin would reduce that.
All done:

Upcyling the table with sandpaper, brushes, stain and poly was about $45.00 and less than 30 minutes a day for a week. On HGTV they do not seem to wait the 24 hours between coats so it may be even faster if you just plow through and hope for the best. Overall, much better than the sad tables I saw on Craig’s List and this one does not have me stressed that the kid’s will ruin it like a new one would have.
I would love to hear about your table makeovers and color choices if you decide to update your table.
 Welcome! Our modern lives can be so hectic that it is so helpful to find easier ways to get a healthy meal on the table, meditate even if the kids are loud, and stay active any way that we can fit it in. This blog is dedicated to making Mindful Living Easier.